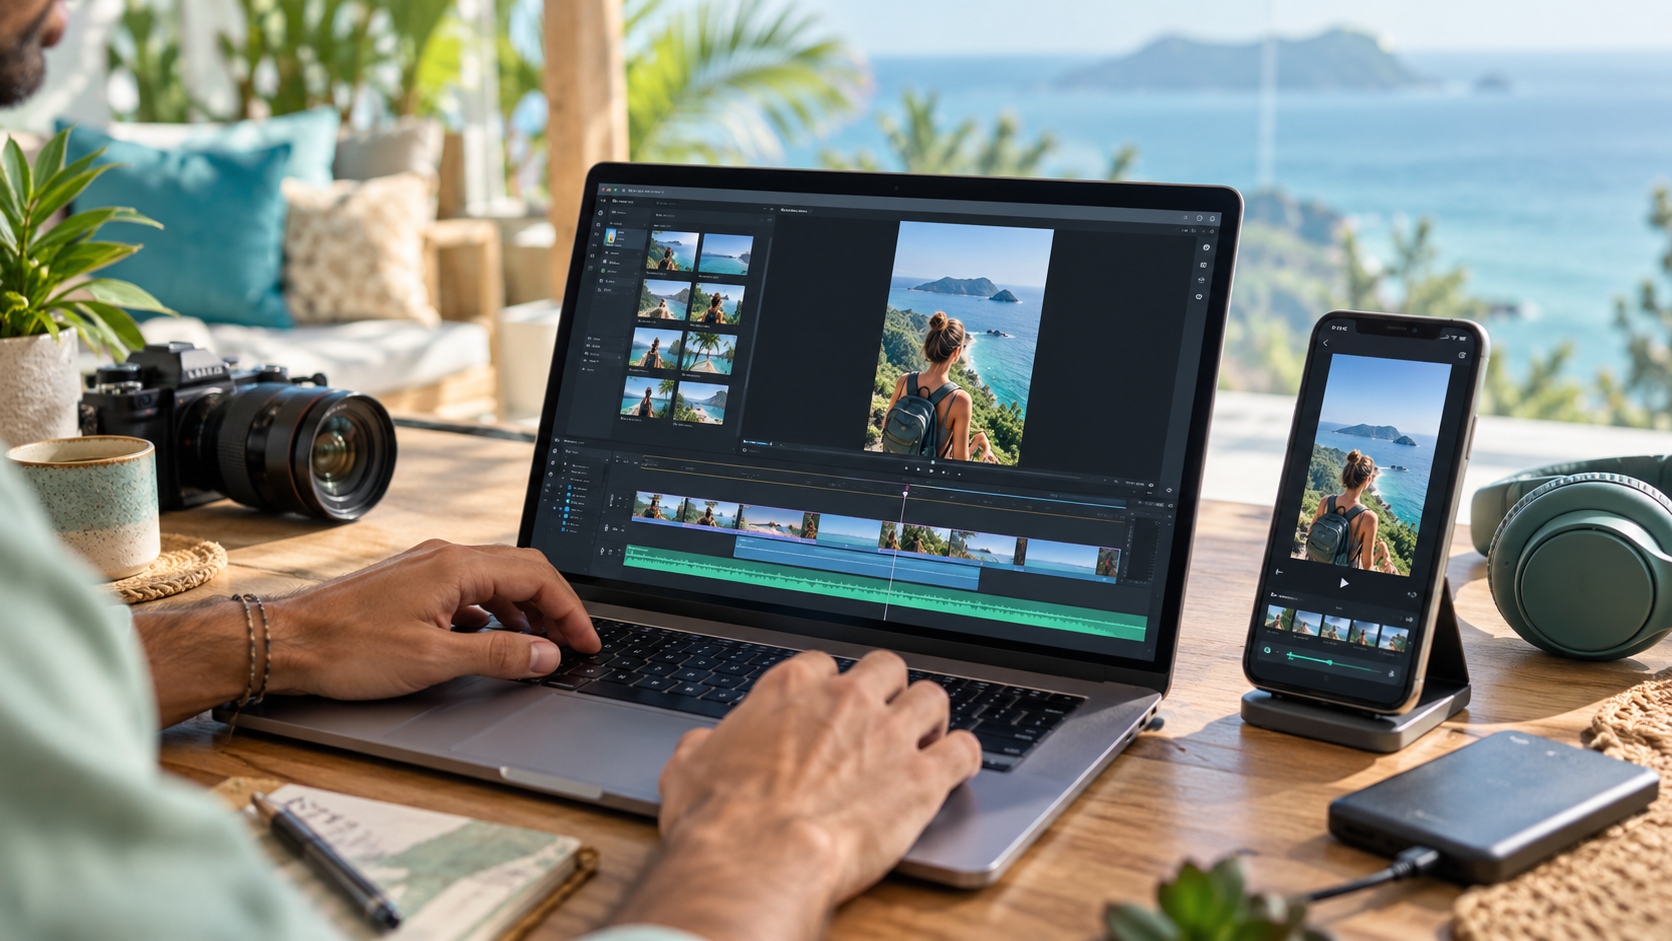


CapCut is one of the easiest tools for beginners who want to learn short-form video editing. It can trim footage, resize video for social platforms, add captions, place text on screen, and export a finished clip without requiring professional editing experience.
This tutorial walks through a simple workflow you can repeat while you build confidence.
What You Need Before You Begin
Start with a video you created, a client provided, or content you are clearly authorized to edit. You’ll also need CapCut on your computer or smartphone and enough available storage for the original video and finished clip.
If you’re still deciding what equipment matters, read What You Actually Need to Start Creating Short-Form Videos. A basic device and headphones are enough for this first project.
Step 1: Create a New Project
Open CapCut and choose the option to create a new project. Import the video you want to edit, then place it on the timeline.
Before making changes, watch the video once. Look for a useful tip, surprising statement, funny moment, clear answer, or short story that makes sense even when separated from the longer recording.
Step 2: Choose One Strong Moment
For practice, aim for a clip between about 20 and 60 seconds. Shorter is not automatically better; the clip still needs enough context to feel complete.
Move the playhead to the beginning of the moment and split the video. Move to the end and split it again. Delete the material before and after your selected section.
Step 3: Remove Slow or Unnecessary Parts
Watch the selected clip carefully. Trim long pauses, repeated words, and any opening that takes too long to reach the point.
Avoid cutting so aggressively that speech sounds unnatural. Clean editing should make the message easier to follow without calling attention to every cut.
Step 4: Change the Video to Vertical Format
Most TikTok videos, Instagram Reels, Facebook Reels, and YouTube Shorts use a vertical 9:16 format. Choose the vertical canvas or aspect-ratio setting in CapCut.
Reposition or resize the original footage so the speaker or main subject stays visible. Check the entire clip because people sometimes move in and out of the frame.
Step 5: Add Readable Captions
Use CapCut’s automatic-caption feature to generate subtitles, then review every line. Automatic captions save time, but they can misunderstand names, numbers, accents, and specialized words.
Keep captions large enough to read on a phone. Use clear contrast between the words and background, and avoid placing important text too close to the very top or bottom where platform buttons may cover it.
Step 6: Add a Simple Opening Hook
The first seconds should tell viewers why they should keep watching. A hook might be a direct question, a surprising statement, a promised result, or the strongest sentence from the clip.
Use a short text headline if it helps clarify the subject. Keep it specific and honest. The goal is to create interest, not mislead people.
Step 7: Check the Audio
Listen with headphones. Make sure speech is easy to understand and that background music, if used, does not overpower the speaker.
Only use music and other material you have permission to include. Finding audio online does not automatically make it available for commercial use.
Step 8: Review Before Exporting
Watch the complete clip from beginning to end. Check spelling, caption timing, awkward cuts, framing, audio level, and whether the video has a clear ending.
It also helps to step away for a few minutes and watch again with fresh eyes.
Step 9: Export Your Finished Clip
Export at a clear, platform-friendly resolution such as 1080p. Save the completed file with a name you can recognize later instead of leaving a generic filename.
Keep your original footage and project files organized so you can make revisions if necessary.
A Simple First Practice Goal
Your first clip does not need to be perfect. The goal is to complete the full process: choose a moment, trim it, format it vertically, add accurate captions, review it, and export it.
Repeat that process with several different videos. Each finished clip will teach you more than endlessly watching tutorials without practicing.
For a broader introduction to the work, visit How to Start Short-Form Video Clipping: A Beginner’s Guide.
Use the hook guide to choose an accurate opening for your finished clip. Menu names and feature access can vary by device, region, app version, and plan. Check the current CapCut caption instructions, and look for premium features before export. If a Pro prompt appears, review CapCut’s guidance on replacing Pro features with free alternatives before deciding whether to pay.
When your clips are ready, explore Metricool for scheduling and performance tracking. Affiliate disclosure: We may earn a commission on qualifying paid subscriptions through this link at no extra cost to you.
Browse the free creator resource library for related articles and video lessons, and choose one step to try next.